
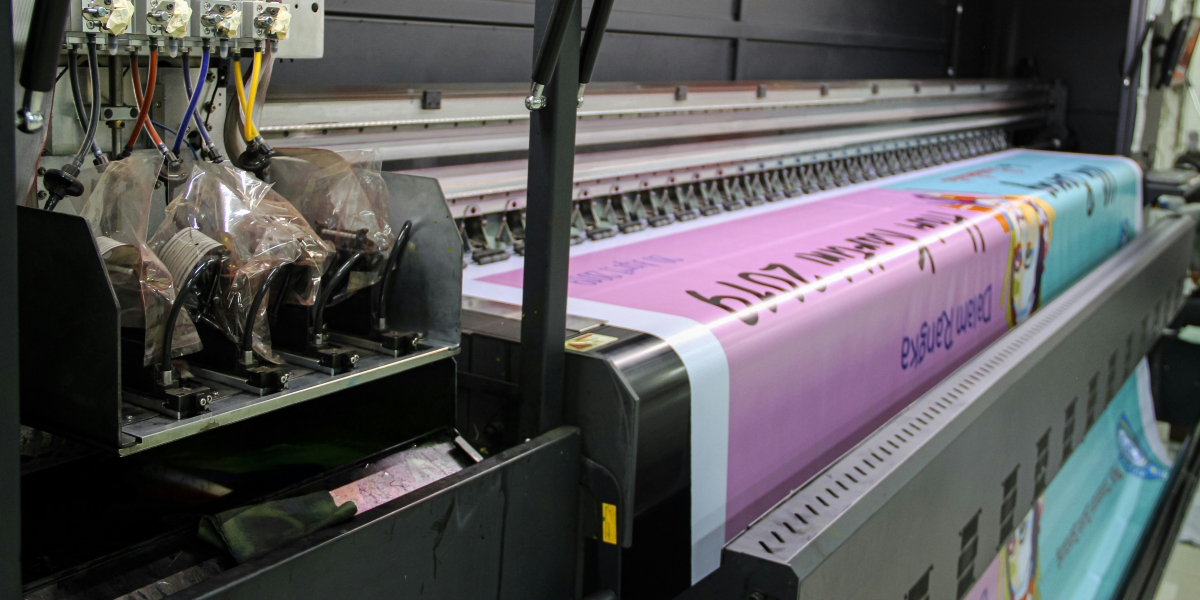

Print materials still play a huge role in business communication today. Whether you need training manuals, event signs, direct mailers, or sales flyers, physical prints get the job done. But if you try to manage all printing inside your office or deal with too many different vendors, things quickly turn messy. Bad margins, wrong color proofs, late deliveries, and unexpected bills often turn a basic print job into a real headache for your team.
Working with commercial printers gets much easier once you understand file setup, paper types, and basic print steps. Many companies prefer working with print specialists like Alphagraphics Conroe to handle big orders. This helps them get matching colors and clean finishing without stressing over large quantities. Once you learn how to prepare your files and talk to your print provider properly, you can reduce expensive mistakes, protect your brand look, and keep project costs right on budget.
Phase 1: Planning and Pre-Production Essentials
Before you email any file to the printer, you should figure out a few important technical choices first. Skipping this early planning usually causes frustrating delays later when the printer checks your artwork.
Defining the Purpose and Audience
Every printed item does a specific job, and that job tells you what physical materials you actually need:
● Durability Needs: For outdoor signs, event banners, or restaurant menus that people touch all day, you need thick cardstock, waterproof plastic paper, or protective clear coatings.
● Mailing Requirements: Standard postcards, folded mailers, and newsletters must follow strict size and weight rules. If you ignore these, postal offices charge you painful extra fees.
● Binding Requirements: Bigger projects like booklets, yearly reports, or staff manuals need the right binding style depending on total pages and how people will hold them.
Choosing the Right Paper Stock and Finish
The paper you pick completely changes how your project feels in hand and how colors look:
● Uncoated Stock: This paper works best if someone needs to write on it with a pen, like company letterheads, invoices, or appointment cards. It has a smooth, natural paper feel.
● Coated Gloss Stock: Shiny paper makes colors pop out and gives strong contrast. It is the top choice for bright picture flyers, brochures, and catalog covers.
● Coated Matte Stock: This paper gives a smooth finish without any annoying light reflection. It makes long paragraphs easy to read while keeping images looking crisp.
Phase 2: Mastering File Preparation and Formatting
Simple file errors cause most print delays and messy visual results. If you format your artwork files by standard industry rules from the start, your job moves smoothly from computer screen to physical paper.
Critical File Preparation Steps
- Color Space Conversion: Computer screens display design work using RGB lights (Red, Green, Blue). Commercial printing machines instead use CMYK inks (Cyan, Magenta, Yellow, Black). You must change your artwork to CMYK before saving the final file. This stops sudden color changes, especially with bright neon colors or deep blues.
- Resolution Requirements: Photos you download off websites are small 72 DPI files so web pages load fast. For clear commercial printing, every photo inside your layout needs to be at least 300 DPI at full size. If you use low-resolution pictures, they end up blurry and fuzzy on paper.
- Bleed Margins and Safe Boundaries: If your design background goes all the way to the paper edge, add an extra 0.125 inches (3mm) of background color past the trim line on all sides. Also, keep important text, main logos, and page numbers at least 0.125 inches inside the trim line so automated cutting blades do not chop them off.
Phase 3: Understanding Print Techniques and Finishing Options
Picking the best printing setup depends mostly on how many copies you want, your total budget, how fast you need it, and if you need custom details.
Digital vs. Offset Printing
● Digital Printing: Great for small orders, quick rush jobs, and projects where details change on every page. It needs almost no setup work, which keeps small jobs cheap while letting you put unique names or text on individual prints.
● Offset Lithography: The smartest pick for huge print quantities and perfect Pantone spot color matching. Offset printing takes longer to set up because technicians make metal plates, but the cost per piece drops massively on big runs.
Post-Press Finishing Operations
A print project is not finished the moment ink touches paper. Extra finishing steps give physical shape and a nice look to the paper:
● Die-Cutting: Uses sharp metal shapes to slice paper into custom forms, pocket folders, or smooth rounded corners.
● Embossing and Debossing: Presses paper between metal shapes to push logos or titles upward or downward for a 3D effect.
● Foil Stamping: Uses high heat and pressure to stamp shiny metal or colored foils directly onto key brand elements.
● Folding and Scoring: Thick paper needs a scored line pressed into it before folding. This stops paper fibers and top ink coatings from cracking open along the fold.
Phase 4: Quality Control and Proofing Workflows
Having a solid proofing check stops costly mistakes before the machine prints thousands of bad copies. Checking every proof carefully keeps your budget safe and hits your delivery date.
Types of Proofs
- Digital Soft Proofs: These are PDF files you open on screen to double-check words, image positions, layout margins, and overall placement. Soft proofs cannot show 100% exact print colors because every computer screen shows colors differently.
- Hard Copy Proofs: Real physical sample prints made on calibrated print gear. A hard proof lets you touch the paper, check true ink colors, and verify page order before full production starts.
Essential Proofing Checklist
● Text Verification: Read carefully for typos, missing font files, wrong phone numbers, and bad line breaks.
● Graphic Alignment: Check that logos are sized right, background colors reach past the bleed lines, and crop marks sit in the right spots.
● Page Sequence: Make sure booklet pages follow the right order when you fold and hold the document.
Establishing Long-Term Print Management Strategies
To keep company printing smooth and quick over time, create simple internal guidelines for your team. Save standard templates that already have correct bleed margins, color setups, and text styles built in so starting new projects takes less time.
Store all your active design files in one shared folder so team members do not accidentally grab old logos or bad files. Also, write down your preferred print details, like favorite paper weights, coating styles, and folding types. This simple step keeps your brand looking identical across every single marketing push and company update.
When you take a clear, step-by-step approach to print file prep, you avoid slow production delays, cut unnecessary costs, and get clean physical materials that help your business succeed.